Metal Shaping Second Part
 |
| For the last part of the shaping model, you also need to measure the size of your template and draw it on the metal. |
 |
| Make sure the size are correct and after that you can start to the next step. |
 |
| To make a negative space on the surface, First is to mark the area that you need to tap on and find a tool that has U shape hole to put below the sheet metal, so that you can hammer the shape with a round tool to tap on. Remember to tap the three peaks of the triangle, that will make the work easier to control. Then tap the left over part of the area. |
 | |
| To pull up the middle shape( the triangle part in the middle ), it is better to cut a tool that has the same shape, find a 5mm plywood board to cut the shape, and you need to measure the size of the triangle and draw it on before you cut the shape. |
 |
| Using the cutting machine to finish your tool. |
 |
| First you need to dig a hole in the middle to make it hollow that create a space to put the cutting line in. So that you can easily cut the middle part of the wood board. |
 |
| Cut the outside line on the board, after cut out the middle part. |
 |
| Use the sander machine to round up the edge of your tool. Move the wood board slowly to provide the board will spread out from your hand. |
 |
| Tape the edge of the cutting line, to stable your tool. Try to fit on the triangle shape notch. |
 |
| Put the wood triangle tool below the sheet metal and tap it with hammer to make the surface flat, tap the edge around the triangle to make the shape of the side match the tool below. |
 |
| Turn to the other side of the sheet metal and use the round edge tool to tap the negative space. Repeat the last step and this step to make the hole more smoothly. And try to put the metal sheet on the 3D template to make sure it fits on the surface. |
 |
| Use the cutting tool to cut out the extra space.( You have to cut it after you finish tapping the metal because metal will extend when you tapped it and the size might change if you cut the shape first ) |
 |
| Spruce up the cutting line to make it smooth. |
 |
| Use the steel hammer to tap the edge of the metal, to provide some shark lines will hurt yourself. |
 |
| Fold the part of the speaker side into 90 degree, by using the folding machine. |
 |
The last step is to smoothen the top and bottom edges with the tool. |
 |
| The side view of the speaker. |
 |
| Front view of the speaker. |
 |
| Side view of the final model. |
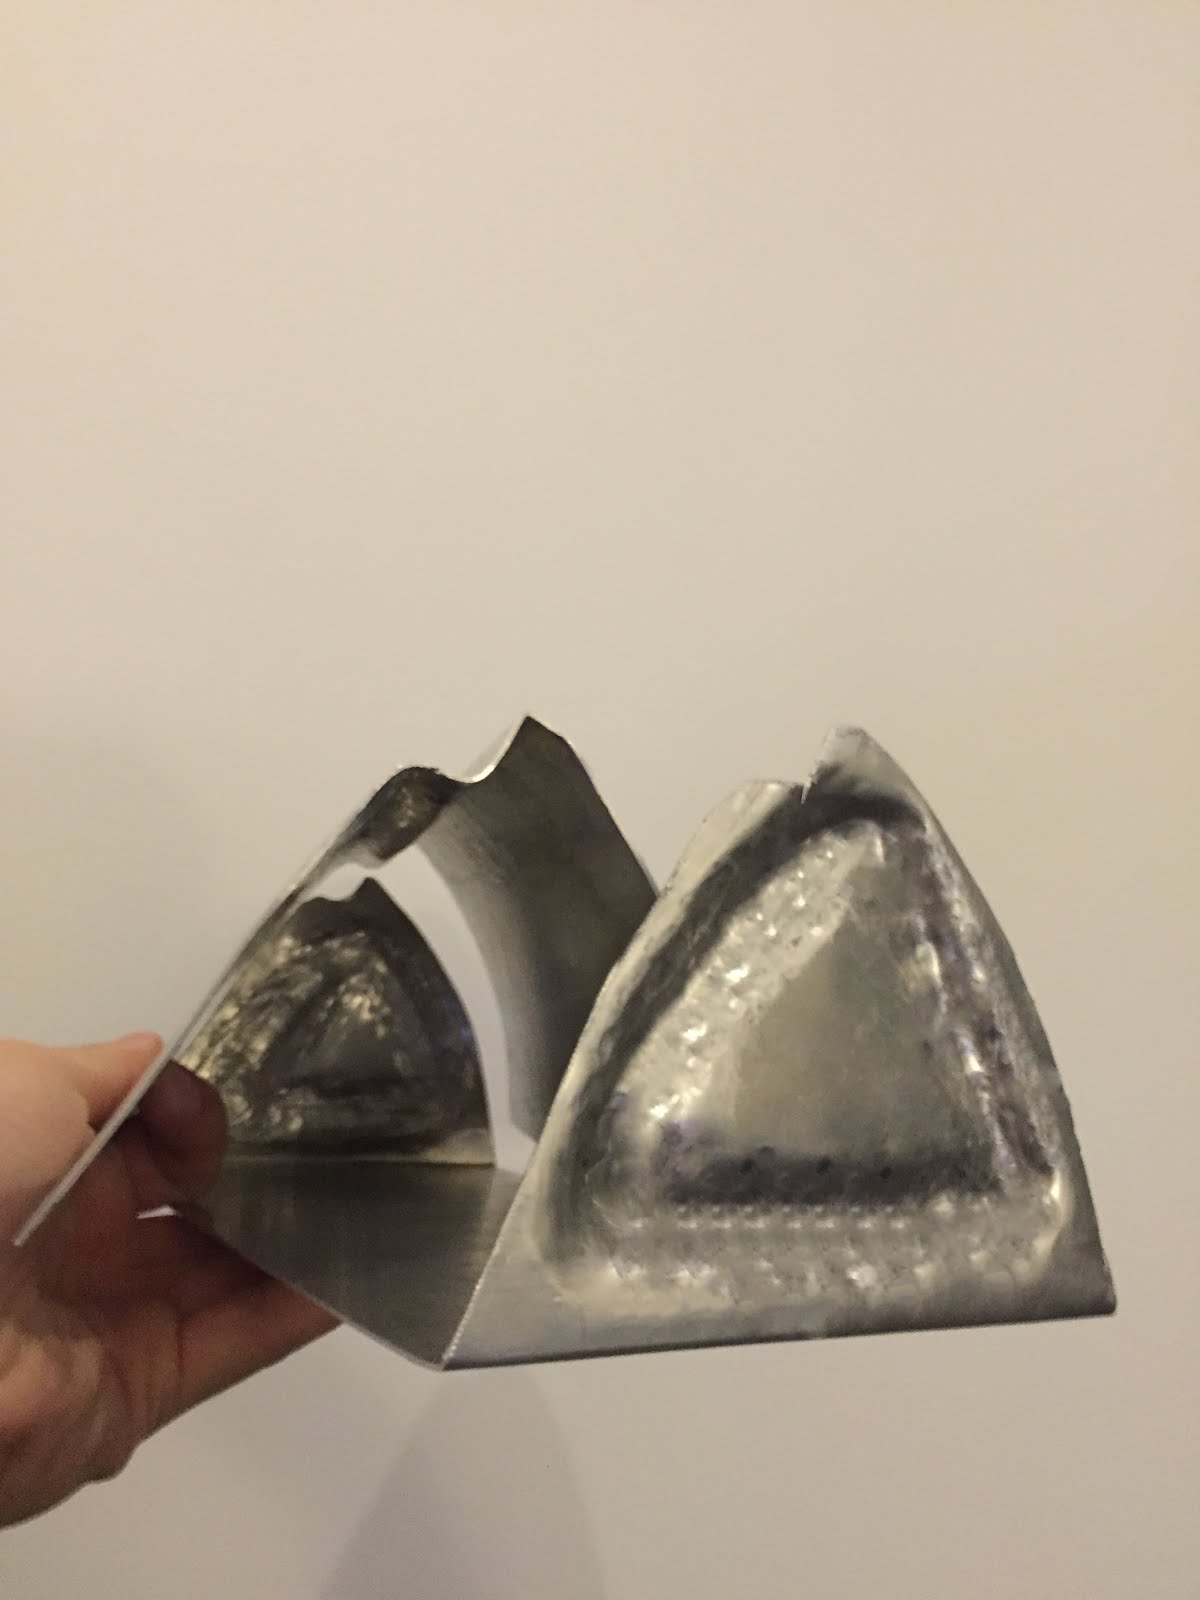 |
| Two part of the metal can match to each other. |
 |
| Front view of the whole final model. |
 |
| Make sure the side metal part can fit into the wood template. |
沒有留言:
張貼留言